Saving a new prompt to your library
Creating a New Prompt in the WorkEngine Chrome Widget
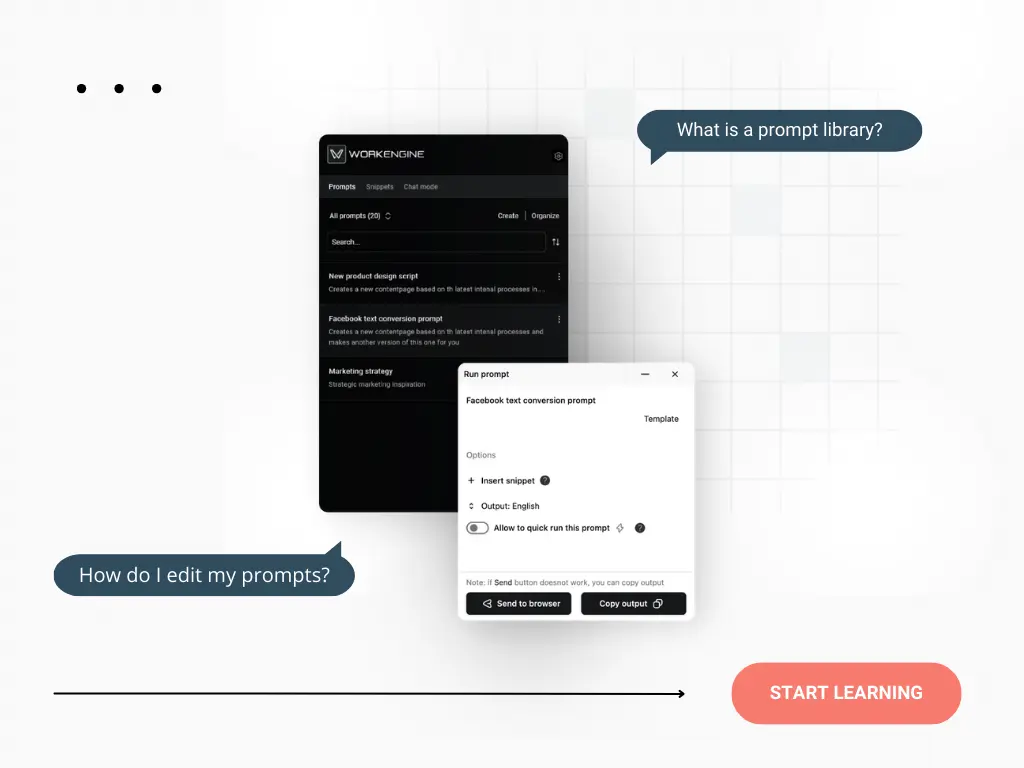
Adding a new prompt to your library using WorkEngine is a simple process:
- Click the ‘Create’ button, which looks like a small plus sign (+). This will open a popup window with various fields.
- Fill in the following fields:
- Name: Give your new prompt a title.
- Template: Write the main structure of your prompt here.
- + Variable: Use
{{ }}to define customizable elements within your prompt, making it dynamic. - + Snippet: Add reusable code or text blocks (like tone of voice or segments) to your prompt.
- Web scrape tool: Use this tool to easily add text from web pages to your prompt.
- Add Description: Explain the purpose and how to use the prompt.
- Add tags: Include relevant keywords to make your prompt easier to find later.
- Output: Select the language you want the AI to use when generating a response.
- Select collection: Choose a specific collection to store your prompt.
- Choose one of the save options:
- Save and close: This will save the prompt to your personal library.
- Save and run: This will save the prompt to your library and immediately run it using the selected GenAI model.
That’s it! With these simple steps, you can create and save new prompts to your library using the Chrome widget.
Uploading prompts to your WorkEngine library
When uploading prompts, you have two options: using the Chrome extension or the admin panel. Here’s a simple guide for both methods.
!Important! – Prepare your prompt file: Before you start, make sure your prompts are properly formatted in either a .json or .csv file. The file should include all the necessary information for each prompt, such as:
- Prompt name
- Template
- Variables
- Snippets
- Description
- Tags
If you downloaded your prompts directly from WorkEngine, they will already be in the correct format, so you’re good to go!
Now, let’s walk through the steps for adding prompts using each method.
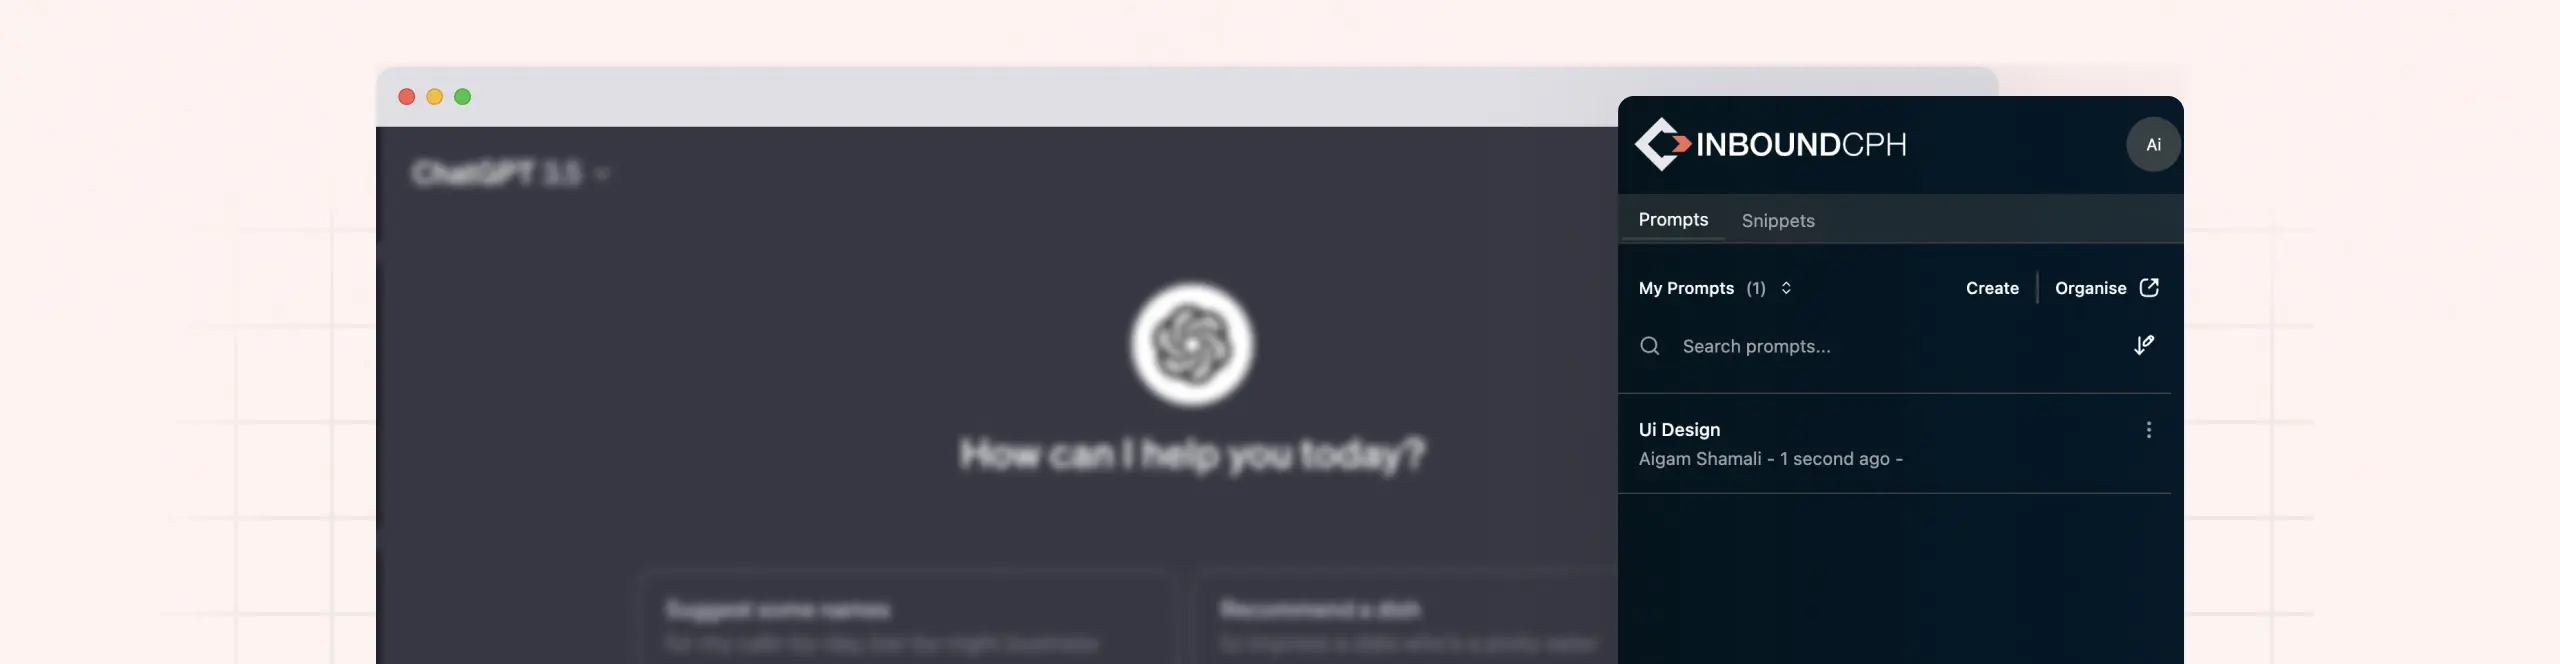
1. Upload via the chrome extension:
Follow these simple steps to upload prompts using the chrome extension:
- Access the Upload Feature:
- Click on the three dots in the top right corner of your WorkEngine interface.
- Find and click on the ‘Upload prompts‘ option, which may be represented by an upward arrow icon or labeled as ‘Upload’.
- Choose Your File:
- After clicking on ‘Upload prompts’, a file dialog box will open.
- Browse through your computer’s folders and select the prompt file you have prepared.
- Click
'Open'to confirm your selection.
- Review Before Uploading:
- WorkEngine will display a preview or summary of the prompts you’re about to upload.
- Take a moment to review the details and ensure everything is accurate.
- Confirm or Cancel:
- If the preview looks good, click ‘
Import‘ to proceed with the upload. - If you need to make changes or select a different file, click ‘
Cancel‘.
- If the preview looks good, click ‘
- Find Your Uploaded Prompts:
- After a successful upload, you can find your newly added prompts under the “My prompts” section.
Important: Make sure your prompt file follows WorkEngine’s formatting guidelines to ensure a smooth upload process.
2. Upload via the admin panel:
-
- Click on the ‘Prompts’ in the sidebar menu to open the prompts management section.
- At the top of the Prompts Dashboard, locate and click the
‘Import’button. - In the file dialog that appears, navigate to and select the prepared JSON file for an individual prompt or a CSV file for bulk uploads.
- Click
Opento confirm your selection and proceed to the next step. - Click
Importto initiate the upload process. If any errors are detected or if you change your mind, you can clickCancelto abort the upload.